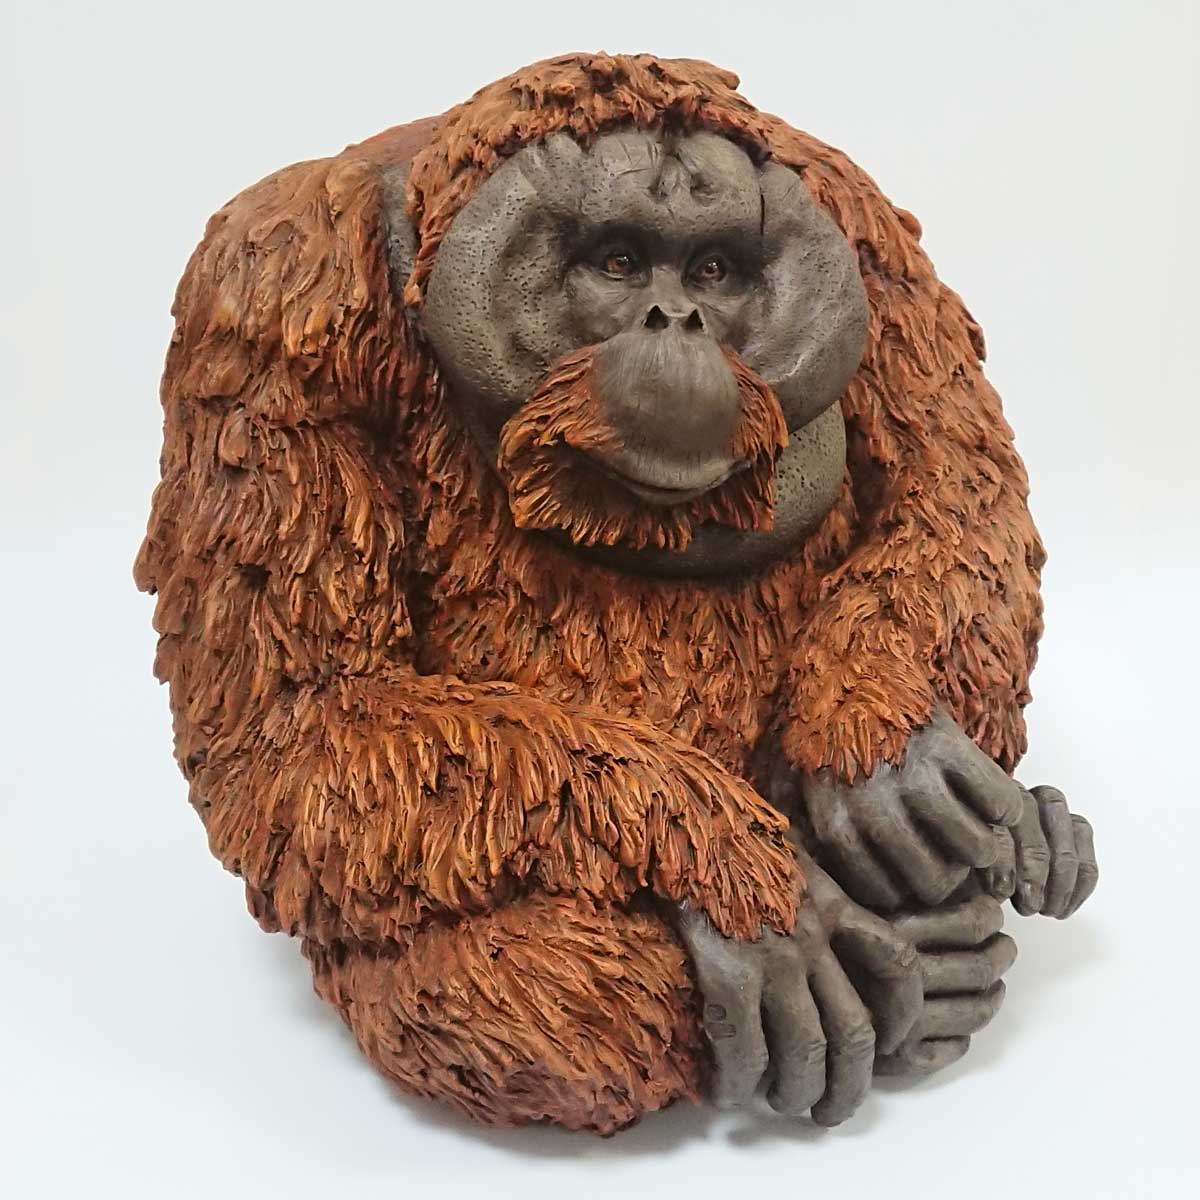
Sculpting an Adult Male Orangutan – Julian Jardine
This article will take you through the process I undertake creating one of my unique sculptures. In this case an Adult Male Orangutan, one of my favourite primates on the planet. These calm and gentle giants are one of mans closest relatives sharing 97% of our DNA and often use very human mannerisms. Borneo Orangutans are listed as endangered while the Sumatran is Critically endangered now. For many years I have donated a portion of the profits from my limited edition Orangutan to the Orangutan Foundation.

Starting Off.
This sculpture of an Adult Male Orangutan is made using Buff clay supplied by Kettles Pottery Supplies. The piece starts life as a large pinch pot roughly 1cm thick that I build up to a height of about 20cm. I then create a hole near the base and build out a hollow tube on either side to form the basic leg position. The majority of my work is done from memory, studying documentaries to understand how animals move and position themselves.
Compressing the Clay
As the piece grows in height I use a metal kidney tool to compress and shape the clay. This is one of the most useful tools in the start up process as it helps add real strength and structure to the piece. Building a slab wall inside the centre of the pot which holds the front to the back of the piece adds strength. This will be removed later but allows me to build the basic shape without it slumping at the moment.
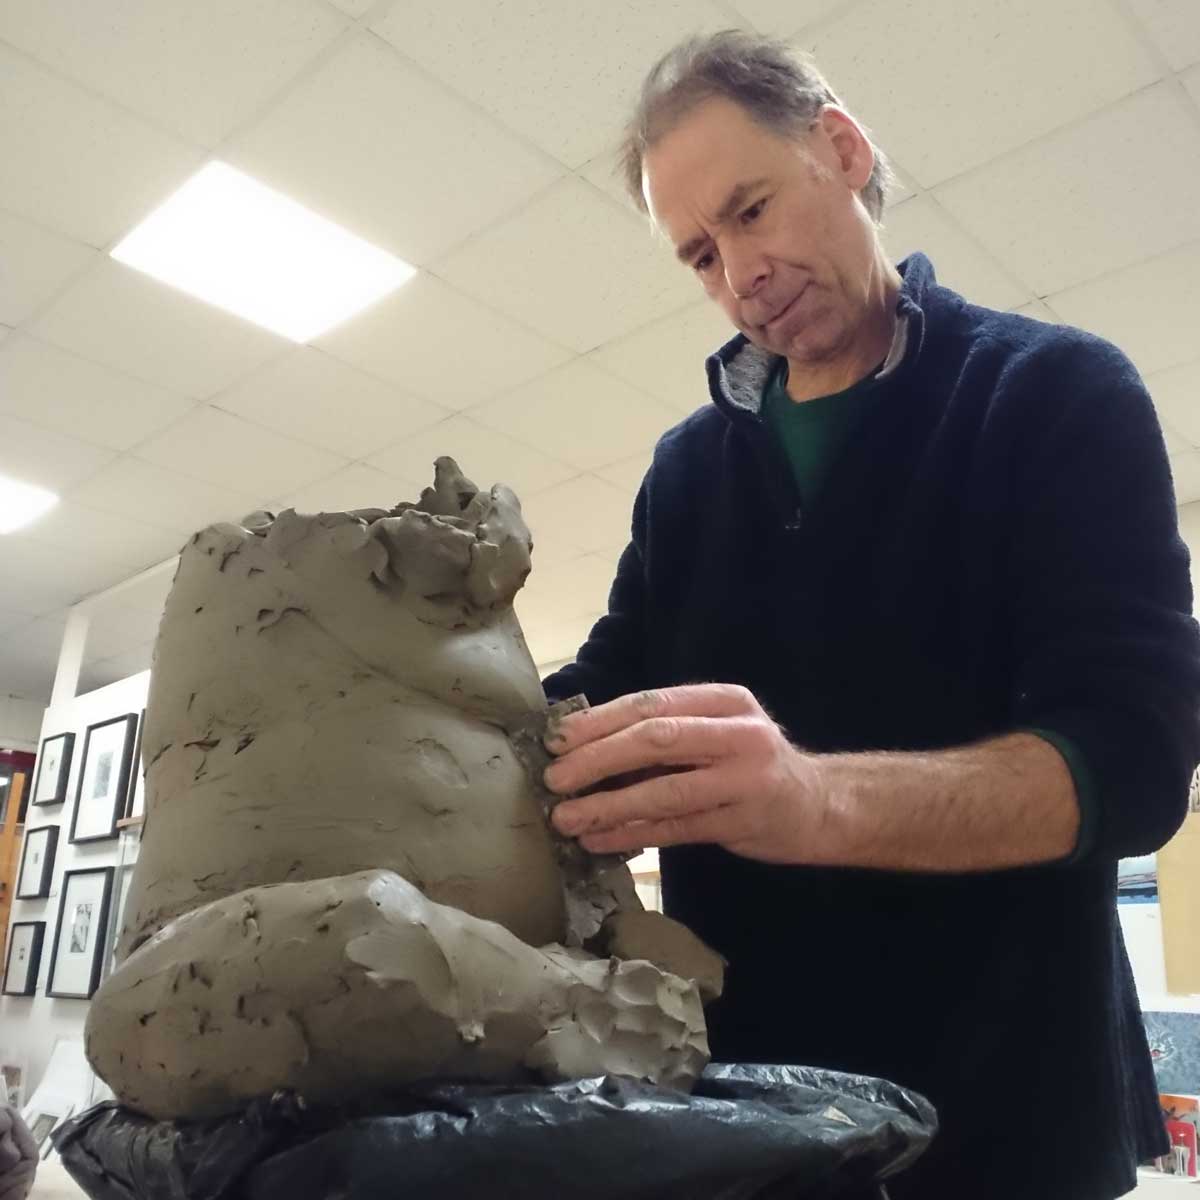

Roughing out the shape.
As I continue the piece I create arms again as hollow tubes while hands and feet are very basic shapes currently. Steadily building out the shape of the head and adjusting the basic facial features. At this time I am trying to create an overall feel for the posture and mood of the sculpture. It is an important time to stand back, check that proportions are correct and that I am happy with general shape of the sculpture.
Sculpting the feet.
Reference pictures are used to check that I have the correct shape and proportions for the Orang-utan’s feet. Detaching them from the model makes life far easier and I can rotate the piece to get in to awkward areas.

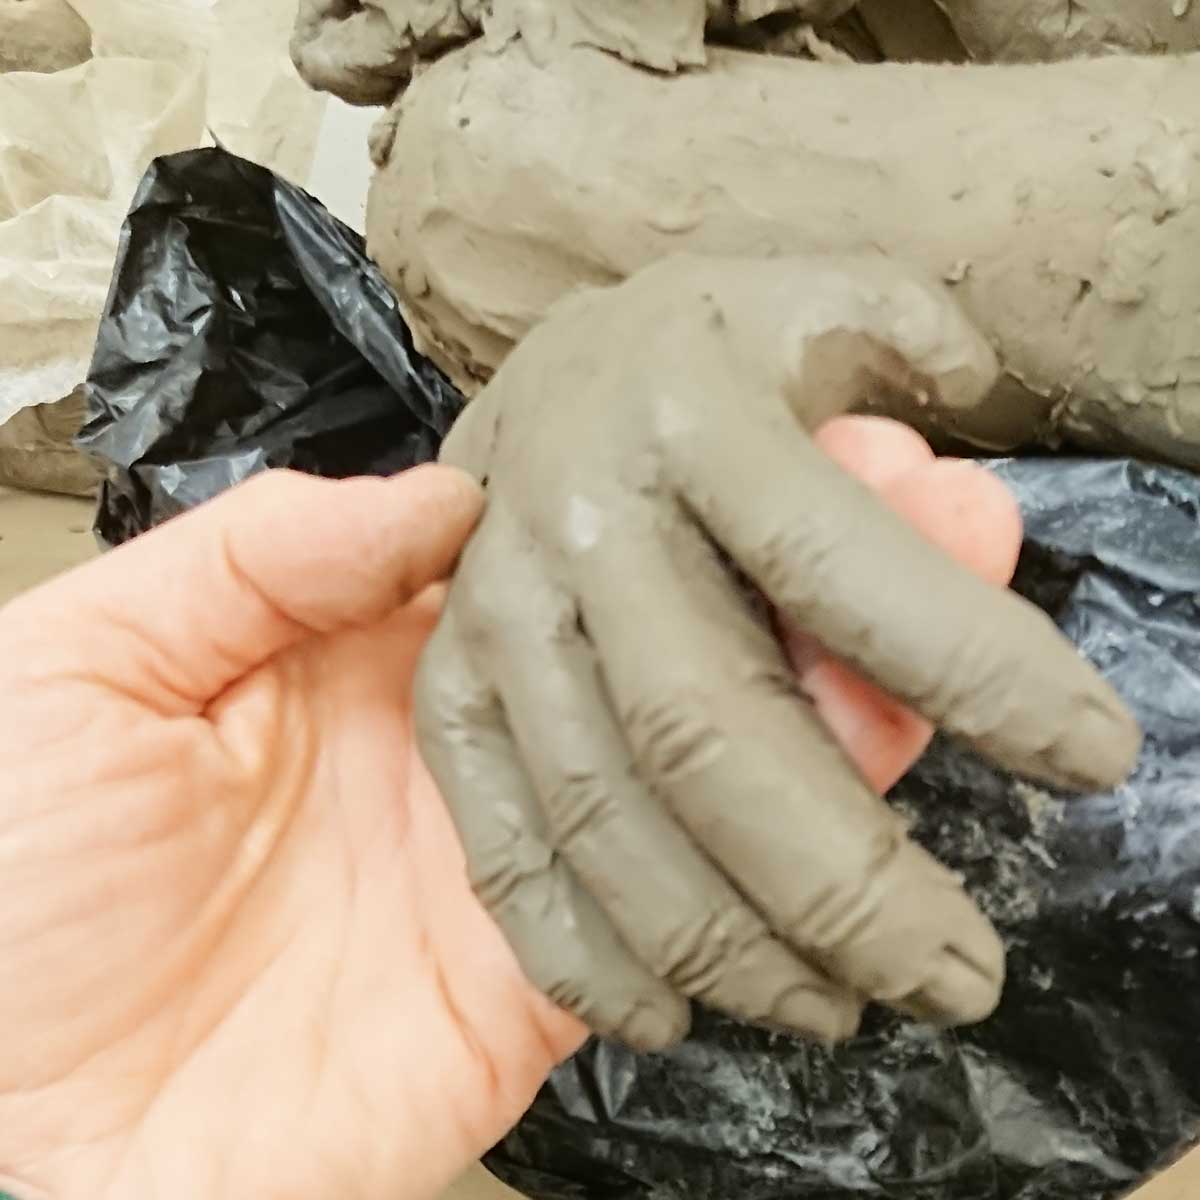
Adding the hands
Going from a very basic shape to the final details takes time and patience. I round out the fingers, add finger nails and then start creating wrinkles on the leathery hands. Each hand and foot takes roughly half a day to sculpt. I go over them with a wet paint brush to remove rough edges and round out the wrinkles. Each is then scored and wet along with the area they join on to the body before being attached which strengthens the bond.
Working on the face
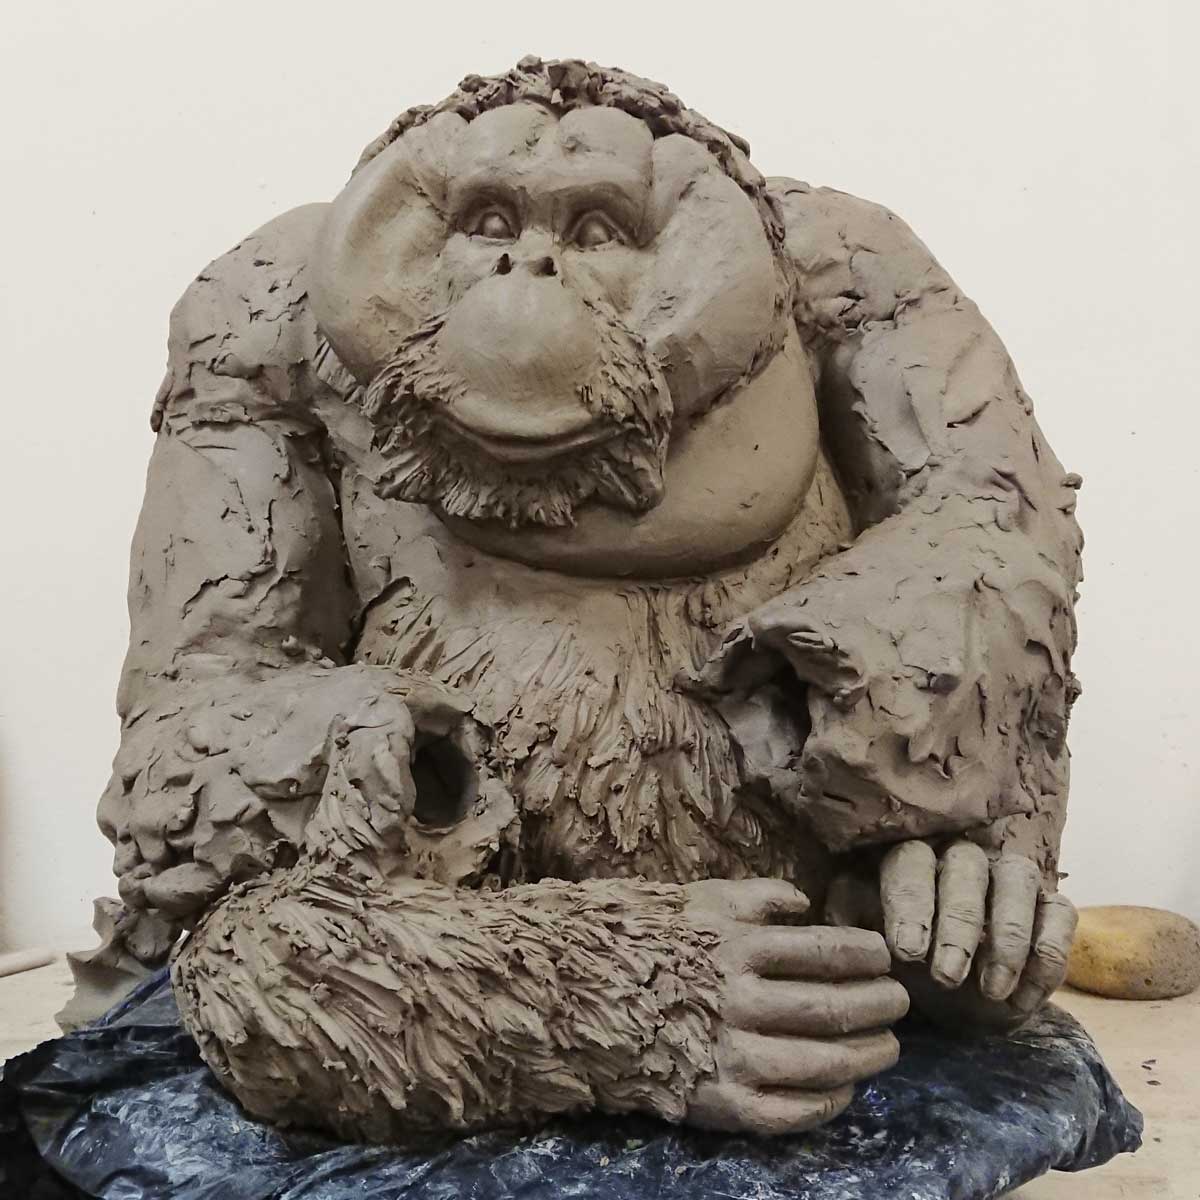
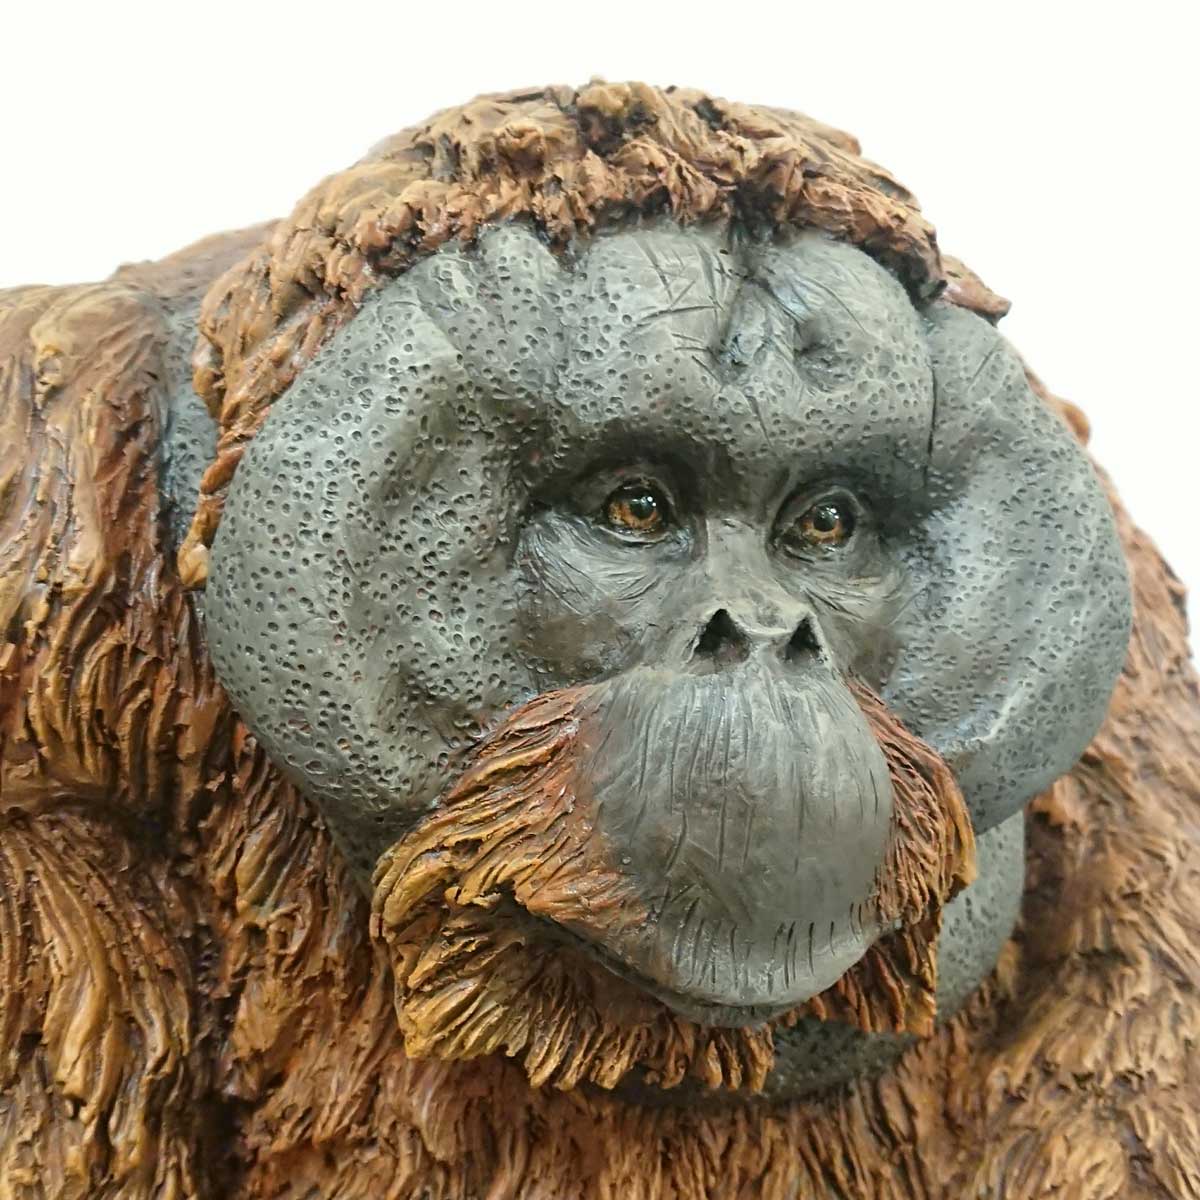
Whenever I create any of my primates sculptures getting a good expression on the piece is vital to the finished item. I like sculptures to look thoughtful and have a real feel that they are looking at you. When I am exhibiting at shows people often comment on what my animals are doing or thinking. It is a nice way to draw people around a sculpture, experiencing it from different angles. I use a small disposable craft knife and a scraper board tool for most of the finer details.
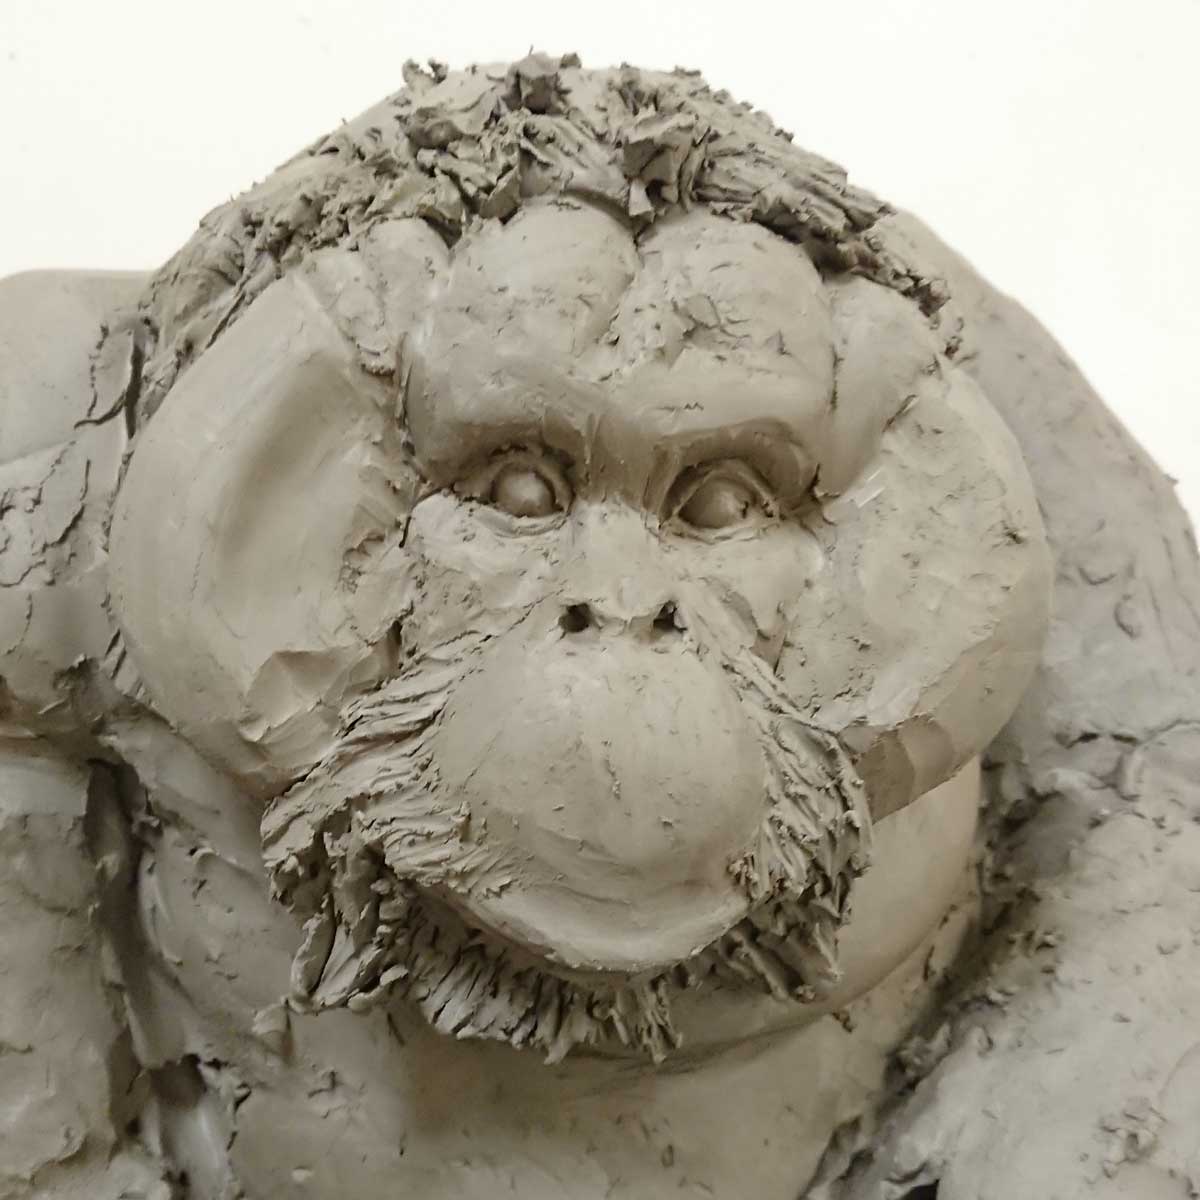
Adding the fur
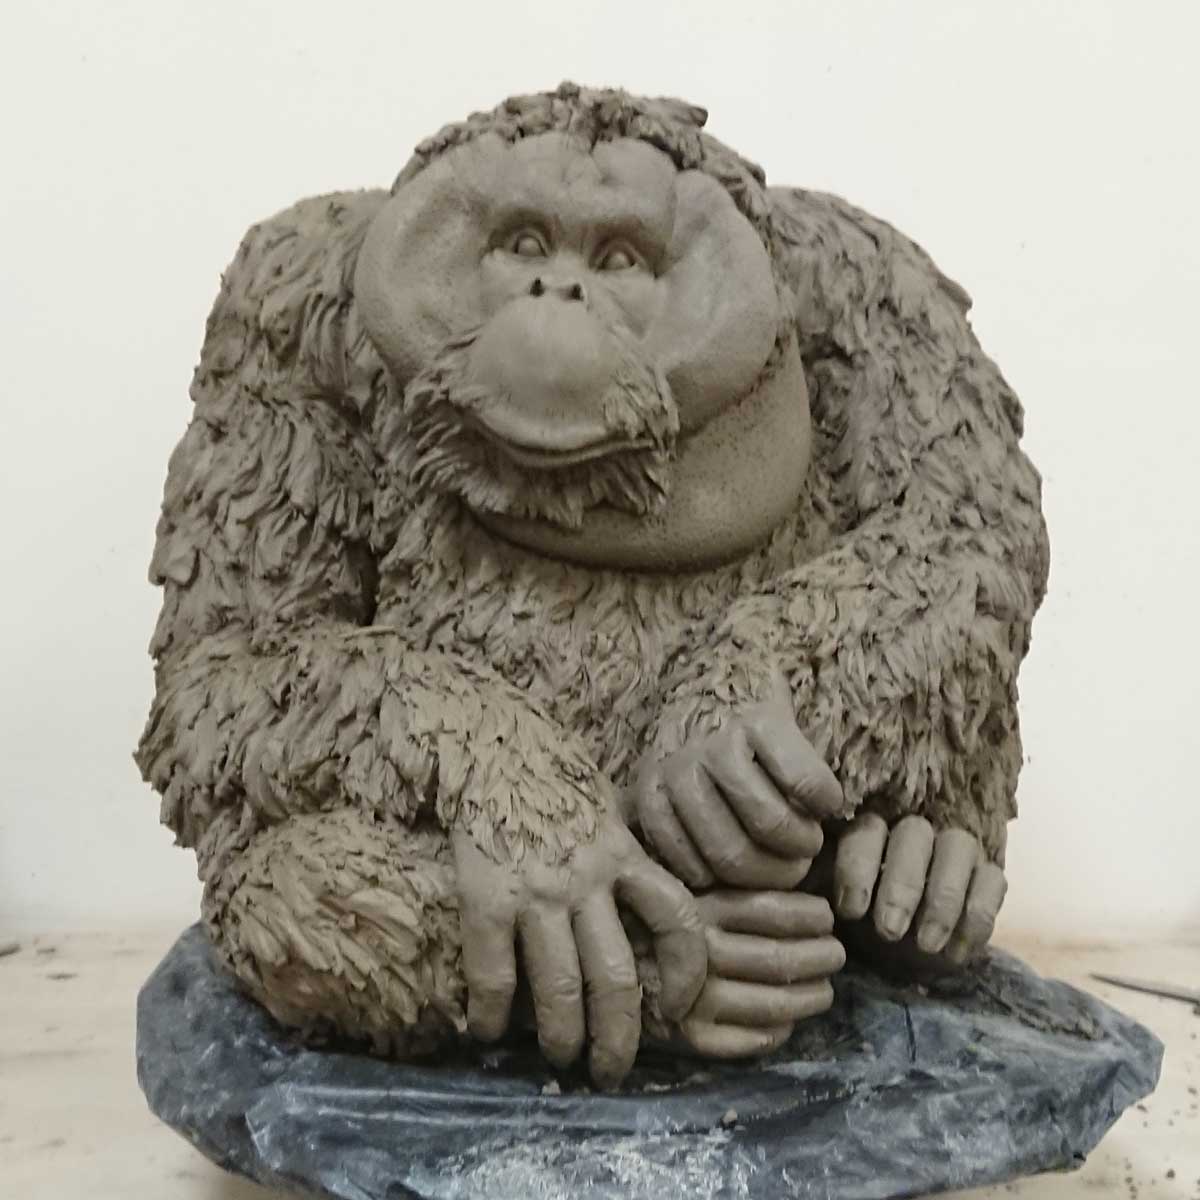
Once the overall piece is complete I begin to add the fur texture to the Orangutan. The way I create fur has changed over the years since I started and is still very much a work in progress. I now use a selection of knives to sweep the clay into the shape of the tufts of fur paying close attention to the direction it flows in. It is a process of building up some clay on the surface and removing some from the crevices to give the fur a sense of depth.
Gutting it!
Before the fur is added all over the body it is important to remove that central support I placed inside earlier. As the piece dries it shrinks and the support might cause unusual tensions in the sculpture and create issues. By this stage I have been sculpting the Orangutan for several days and it is now about leather hard, easily able to support itself without this.

The finishing touches.
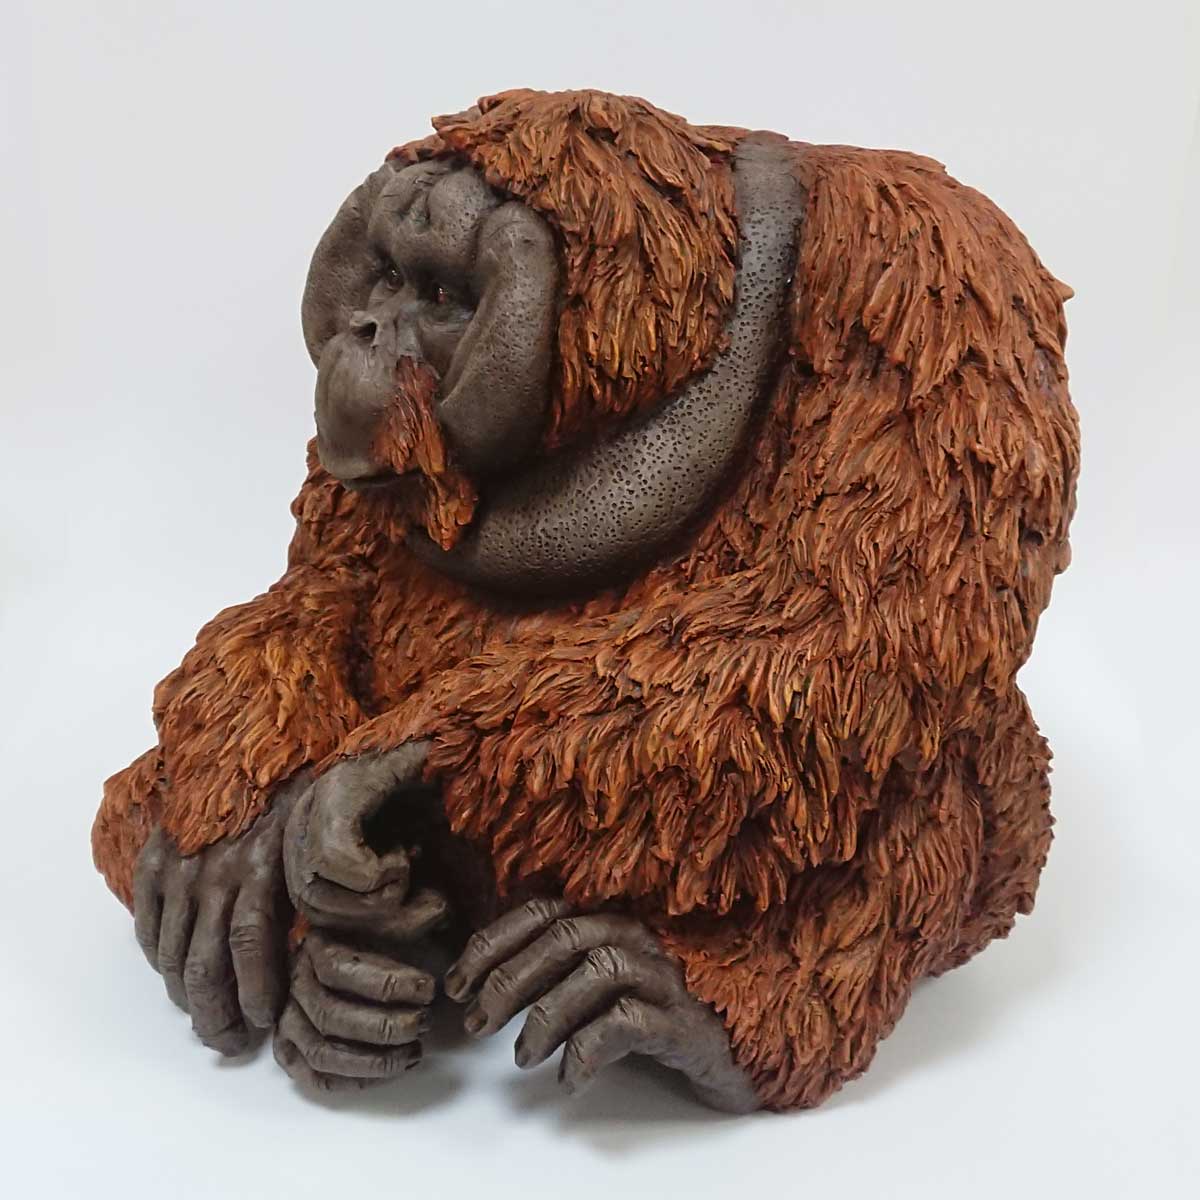
After sealing back up the hole is his back I continue the fur over the remainder of the piece. There is then a considerable amount of footering* about while I tighten up the overall sculpting. Once the whole piece is complete a small hole is made in the base so that steam can escape during the firing process. It is then left out for several weeks until completely dry . I fire pieces to between 1140 and 1150c to make the clay very dense and avoid breakages. At this temperature it is not quite vitrified** and can take the acrylic paints I use to colour pieces. For this reason my sculptures are not suitable for outdoors during the winter currently.
*footer – a fine Scottish term – In fact, “to footer” in Scots means to fidget or fumble and the noun – as in “ach, he’s an auld footer” – designates someone who is a nuisance or exasperating. The term “footer”, however, is a legacy from the Auld Alliance and was once considered to be a term of gross abuse or contempt.
** Vitrified Clay – If you fire clay high enough it becomes vitrified, so dense that it no longer absorbs water. It also becomes far more durable to thermal shock such as oven dishes. In ceramic terms this is normally referred to as “Stoneware” fired and reaches temperatures of around 1280c
Tools of the trade
Pictured right are all the tools I used during this sculpture. From left to right.
- Disposable craft knife
- Steel kidney tool
- 1″ Domestic paintbrush
- Rectangular steel kidney tool
- Scraper board tool (cutter style No.2)
- Old kitchen paring knife
- Small paint brush.

The Finished Piece